 Gustav
Relighting is one of those effects that sounds like a plug-in and turns out to be three hard problems in a row. You need the original light gone, otherwise your new lights fight with it. You need to know which way every surface faces, otherwise there is nothing to shade. And you need a way to place lights that feels like holding a torch, not editing numbers.
I already had the first part: the delighting network from the Blender add-on. This post is about the other two, and about gluing all of it into one page.
The short version
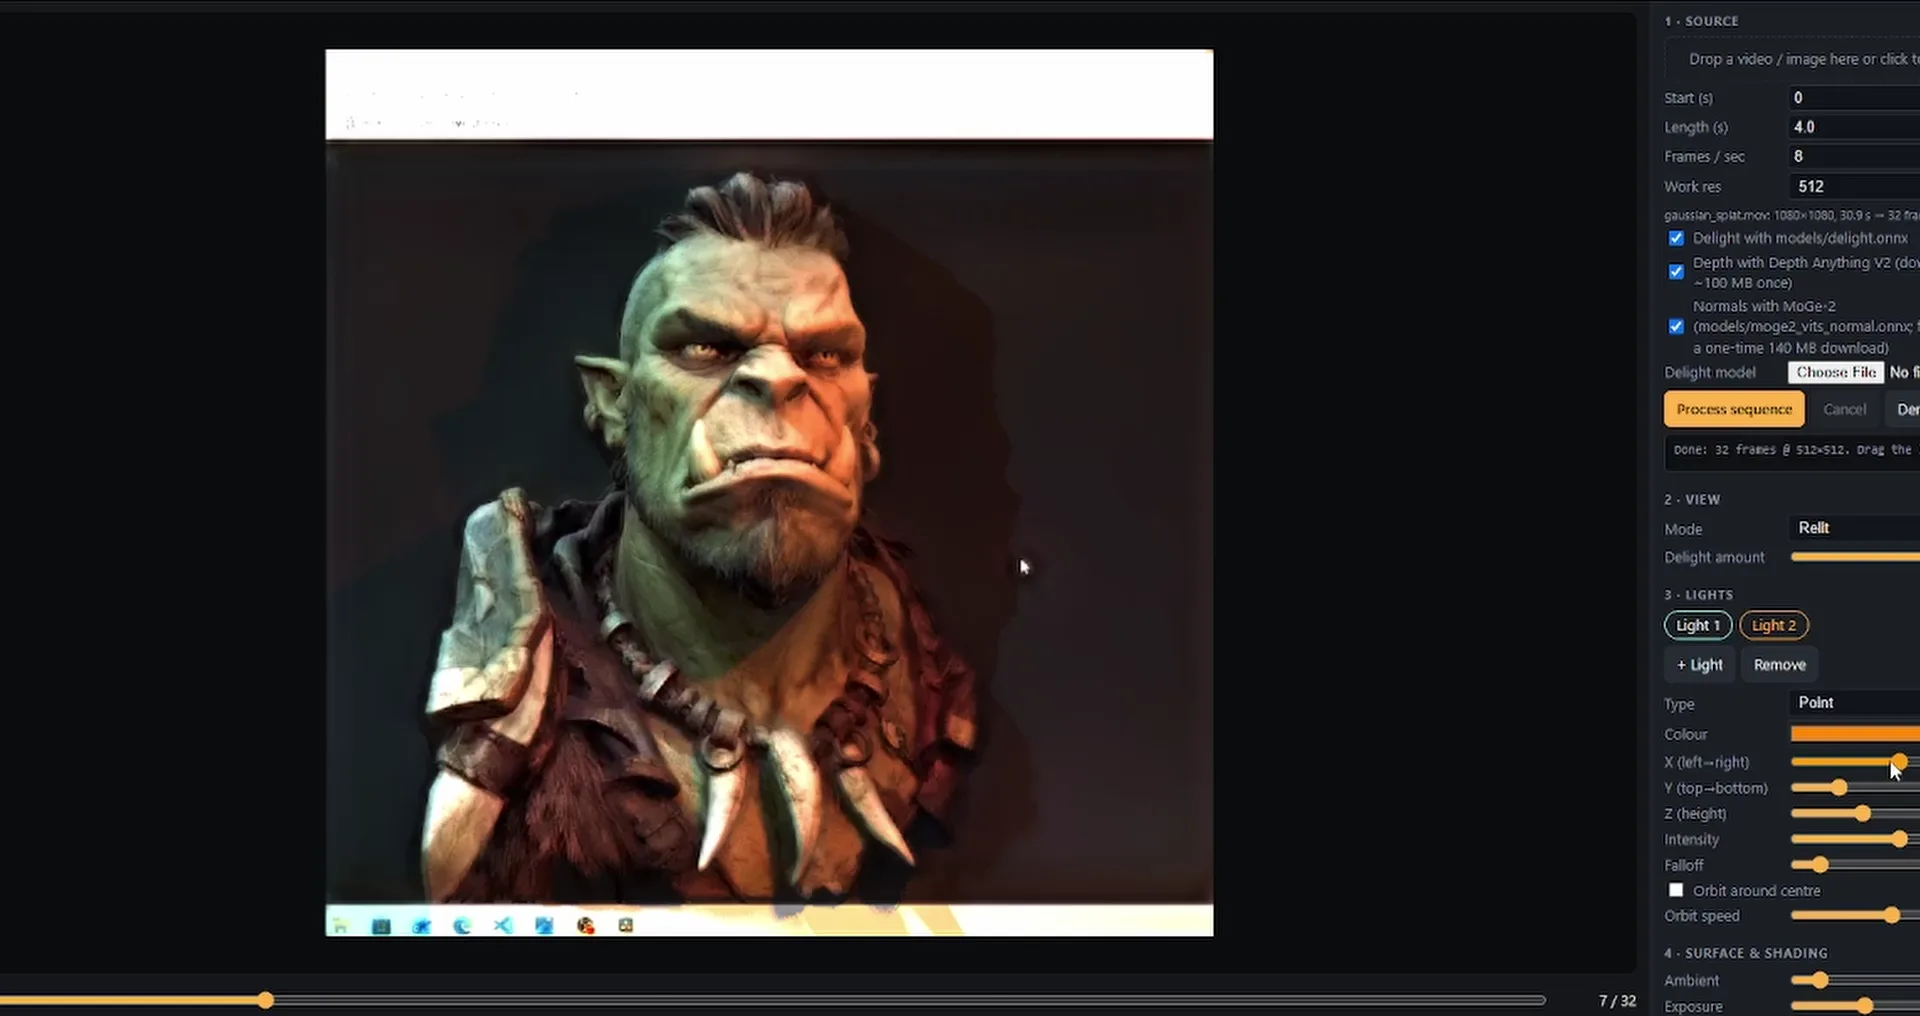
- InputA video or a single image. The demo is a 4-second stretch of the orc clip: 32 frames at 8 per second, 512 px
- DelightingMy own pix2pix network from the add-on (ONNX, 121 MB, 256 px in and out), applied to each frame
- NormalsMoGe-2, a model that predicts surface normals directly from the image (140 MB)
- DepthDepth Anything V2 small, used for cast shadows and fine surface detail
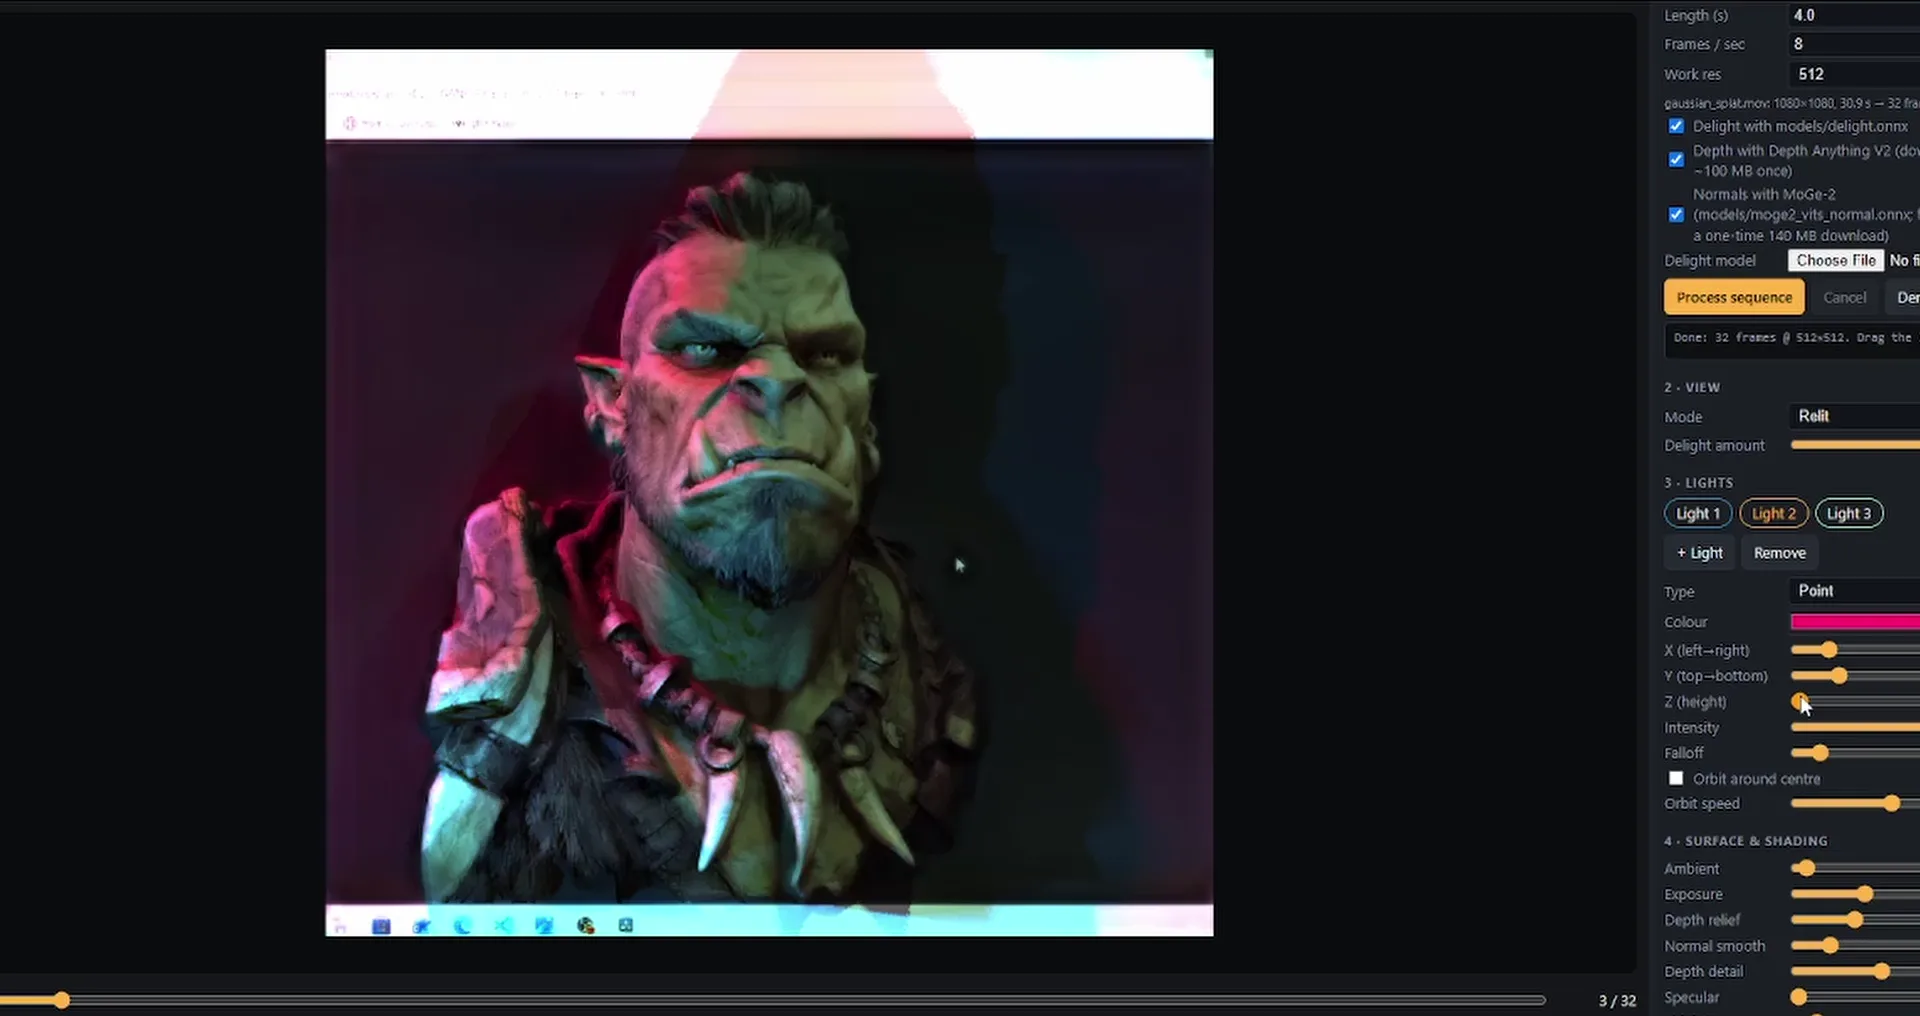
- RelightingA three.js shader: up to four point or directional lights, specular, soft shadows
- OutputLive view, PNG, or a recorded webm of the relit sequence
How a frame travels through it
- Delight. The frame is shrunk to 256 px and the network predicts the same picture without shadows and highlights. Instead of enlarging that blurry result, I turn it into a smooth brightness correction and apply it to the full-resolution frame, so the fine detail of the original survives.
- Normals. MoGe-2 looks at the frame and predicts, for every pixel, which direction the surface faces. This is what makes a cheekbone catch light and a cheek fall away.
- Depth. Depth Anything estimates how far away each pixel is. I normalise it across the whole clip and smooth it over time so it does not flicker from frame to frame.
- Relight. A shader multiplies the flat colour by the light that would reach each pixel from each lamp: direction, distance, falloff and a specular highlight. Shadows are found by marching from each pixel toward the light through the depth map.
The processing runs once per clip, one frame at a time, with a progress bar. After that the lighting is cheap: the frames are sitting in the graphics card as textures, and moving a light just re-runs the shader.
The part I got wrong first
My first version took the normals from the depth map: look at how depth changes between neighbouring pixels and you get a slope. It is the obvious method and it looked bad. Skin turned crinkly, because small noise in the depth became bumps. Shadows came out in visible steps. And wherever the depth jumped, like the edge of a shoulder against the background, the normal pointed away from every light and left a black outline.
Depth models are trained to get the ordering of things right, not the exact slope of a surface. Normals are a different quantity and deserve their own model. Swapping in MoGe-2 was the single biggest improvement. The face and shoulders now have smooth, believable shape, and the depth map only adds fine detail on top, with a slider to decide how much.
If a derived quantity looks wrong, check whether you are asking the model for something it was never trained to give. Differentiating a depth map for normals is exactly that.
What still does not work
- It is 2.5D. The tool knows each pixel's depth and direction, but not what is behind the object. I can relight the view I have; I cannot orbit around it.
- Shadows are approximate. They come from a monocular depth estimate, so they are softer and less exact than the shading. Hard cast shadows from small objects are the weak spot.
- Frames are predicted independently. I smooth depth over time, but nothing forces the normals of neighbouring frames to agree, so a fast-moving subject can shimmer.
- Delighting sets the ceiling. Wherever the network mistakes a real colour for coloured light, the relight inherits that mistake.
- Processing is the slow part. Three networks run on every frame, so a long clip takes a while to prepare. I process a few seconds at a time.
Why this matters
Lighting is the thing that makes footage and renders look expensive, and it is also the thing you cannot change after the fact. Being able to pull the original light out and place your own, on footage that is already shot, is a real shortcut for product visuals, character work and creative direction. It is the same idea as my neural rendering and splat sharpening experiments: keep the structure under control and let a trained network do the part that is painful by hand. The orc in the demo comes from the Gaussian splat I made from an AI-generated model.
The tool is a prototype on my machine and not released. If you have footage you want relit, or a pipeline where a tool like this would save time, get in touch. Custom AI tools and pipelines are what I build.
Frequently asked questions
What does it mean to relight a video?
Relighting means changing the lighting of footage after it was shot. The original light is removed first (delighting), then new lights are placed and the shading is recalculated from the shape of the surfaces, so you can move, recolour or add lights.
Does the video leave my computer?
No. The tool runs in the browser on my own machine and the video is never uploaded. The only download is the model weights themselves, which are fetched once if they are not already on disk.
Where do the normals and the depth come from?
Both are estimated from the single image of each frame by neural networks. A model called MoGe-2 predicts the surface normals, and Depth Anything V2 predicts depth, which is used for shadows and fine surface detail. No 3D model of the scene is needed.
Can I move the camera after relighting?
No. The result is a relit version of the original camera view. It is a 2.5D effect, because the tool knows each pixel's depth and direction but does not rebuild the hidden sides of the object.
Is the tool available to use?
Not yet. It is a working prototype on my machine. If you have footage you want relit, or a pipeline where a tool like this would help, get in touch.